Point and Shoot Photography Tips for Realtors
When it comes to real estate marketing, a picture really is worth a thousand words.
Great photos can make a property look and feel more appealing to prospects, giving your real estate postcards or online listing far more persuasive power.
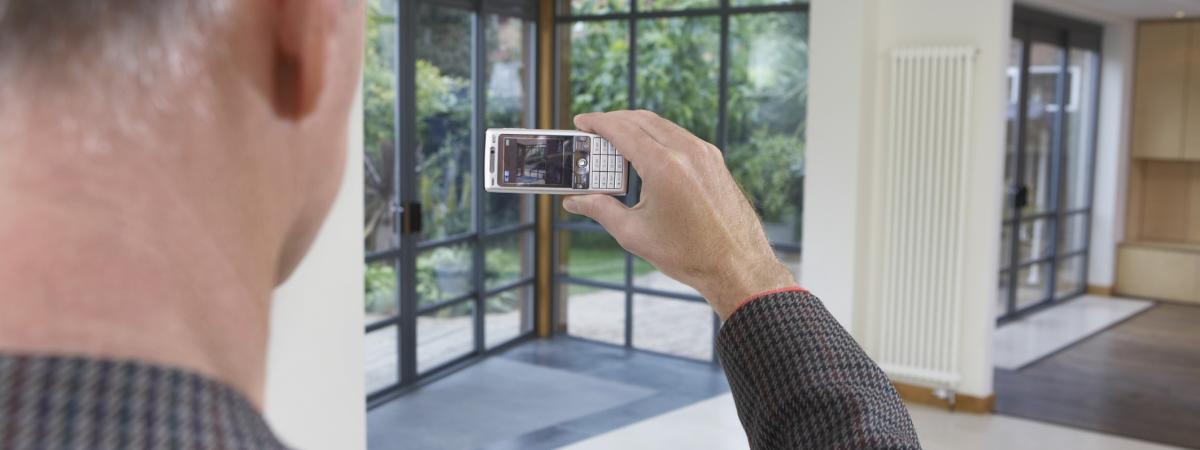
While you’ll get the best photos from a full-size digital SLR camera, it’s still possible to take high quality photos using a point-and-shoot camera, or even using a modern smartphone.
Before you whip out your iPhone and start snapping photos of your listing, put these simple photography tips to work to make sure you get crisp, balanced photos using your camera:
-
Work out what you’ll use each photo for. When you plan your postcard ahead of time, it’s easier to frame photos that will impress and intrigue recipients.
-
Shoot most of your photos in landscape. You should only use portrait photos when you have a specific need.
-
Make sure your camera’s exposure is set properly before you start taking any photos to avoid capturing an image that’s too light or too dark for use.
-
If you can, use a tripod to stabilize your camera. If you don’t have a tripod, try leaning against a wall to keep your camera steady and avoid accidental blur.
-
Before you print your photos, fix their levels using digital photo software to avoid printing an image that’s too light, dark or washed out.
-
Once your photos are ready to print, make sure they’re saved using the right resolution. Web photos can be 71 dpi (dots, or pixels, per inch) while photos for print need to be 300 dpi.
The right photos can make any property, from a cozy apartment to a spacious family home, look its best. Use the six tips above to make your point-and-shoot photos look stylish, professional and appealing for prospective buyers.
Share to: